How to Live Fire Practice at the Range
 Bryan Hill / March 21 2024
Going to the range can cost a lot of time and money, especially in times of high ammo prices.
If you want to make real gains every time you go the range and track your progress, here's how.
On This Page:
- Range Gear Checklist
- Before You Go
- Range Etiquette
- Pistol Warm-up Drills
- Pistol Shooting Drills
- If Your Accuracy Drops...
- More Drills
- Wrapping up
- References
Range Gear Checklist
When planning a range trip, make sure you have these essentials:
-
A range bag. If you already have a backpack that's 27 liters (1650 cubic inches) or larger, that should work great.
Don't have one? North Face makes great backpacks at a great price.
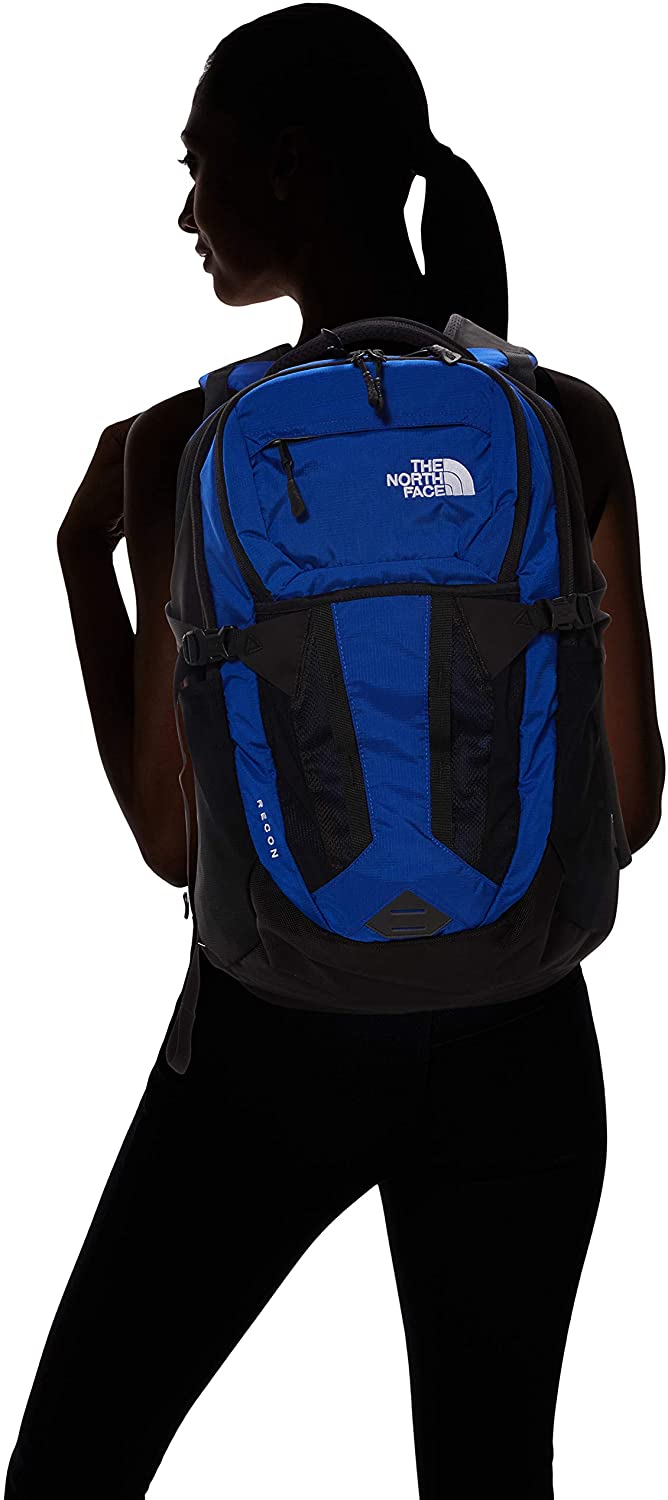
It gets the job done, it's discreet, and it can be used for other things. If you have to make any stops on the way home from the range, take it with you; don't leave it in the car.
-
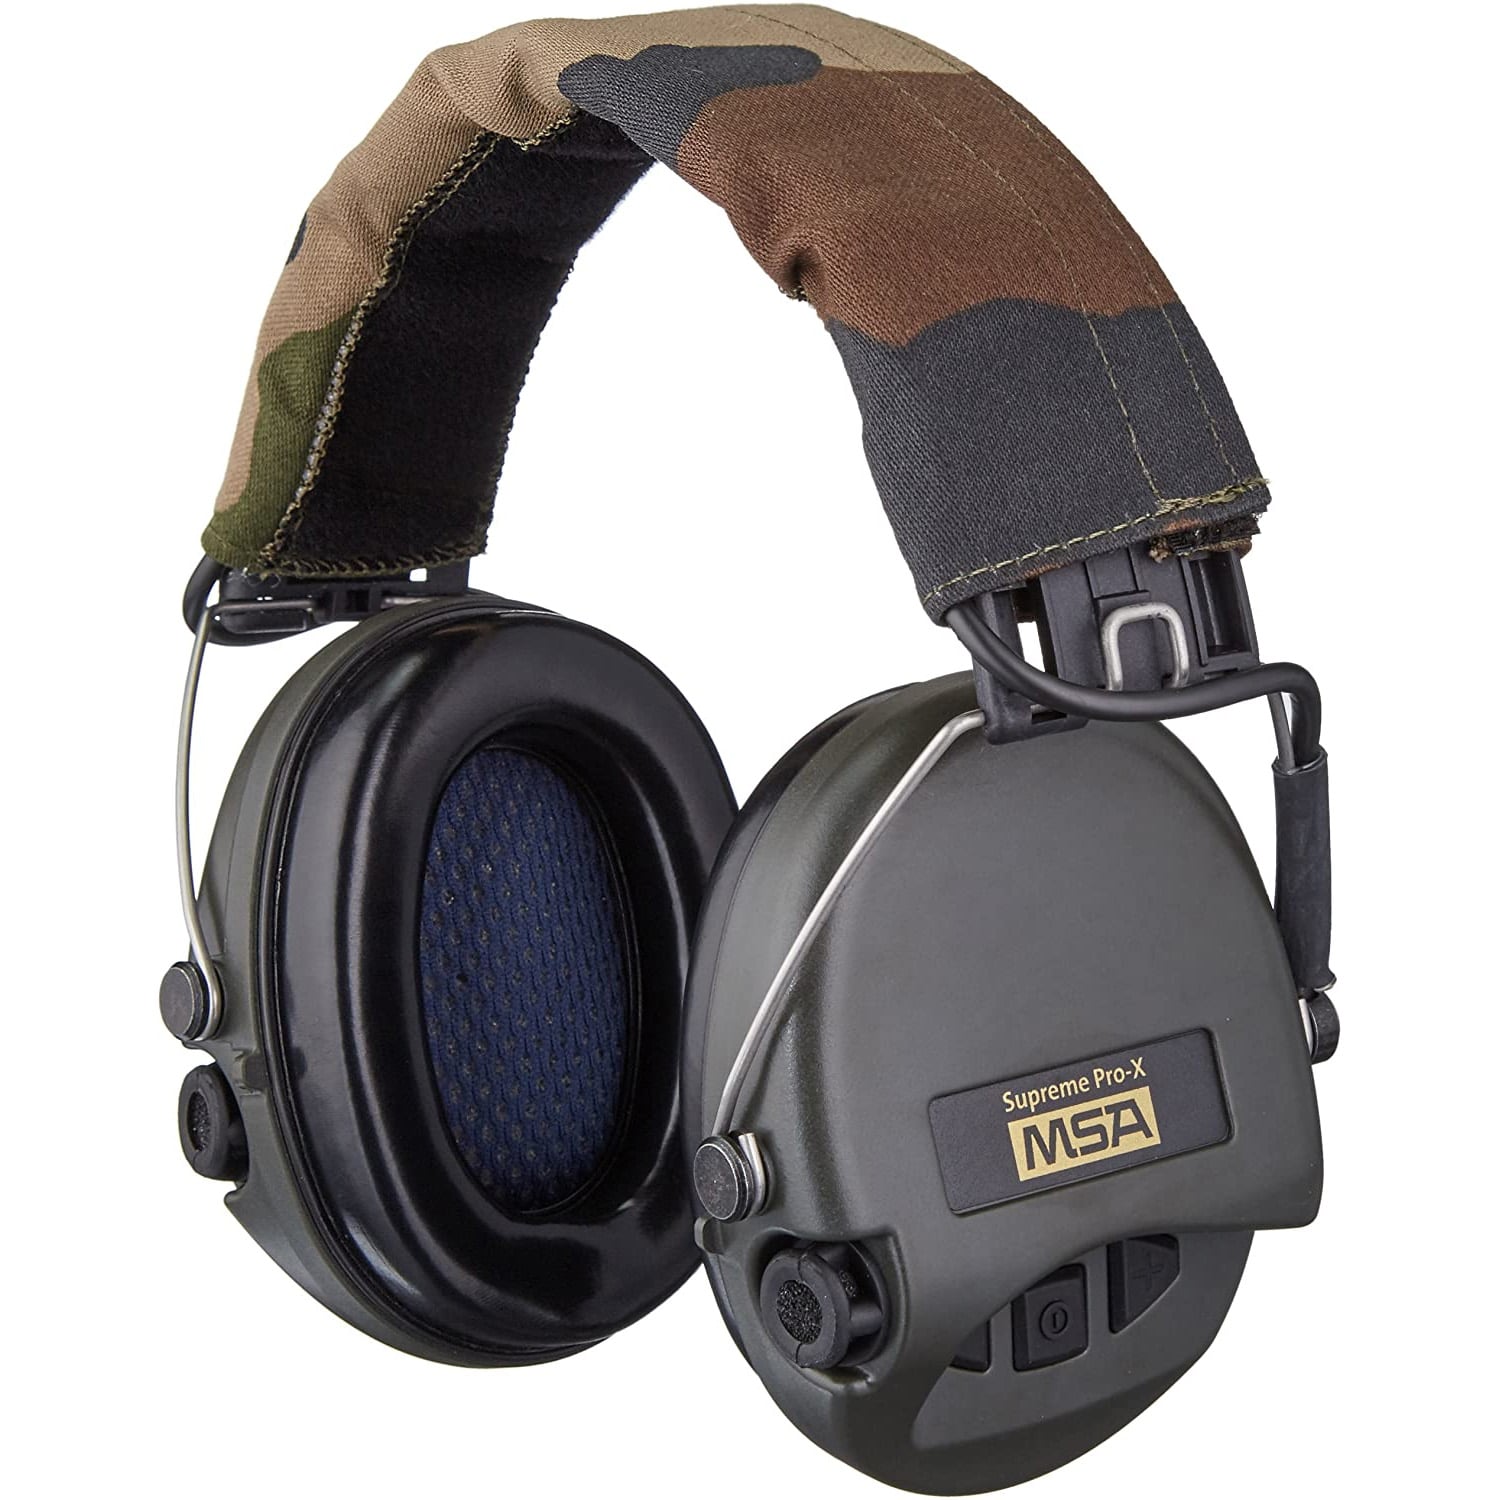
Ear protection. How much do you need? Use our Earpro Calculator and save your hearing.
-
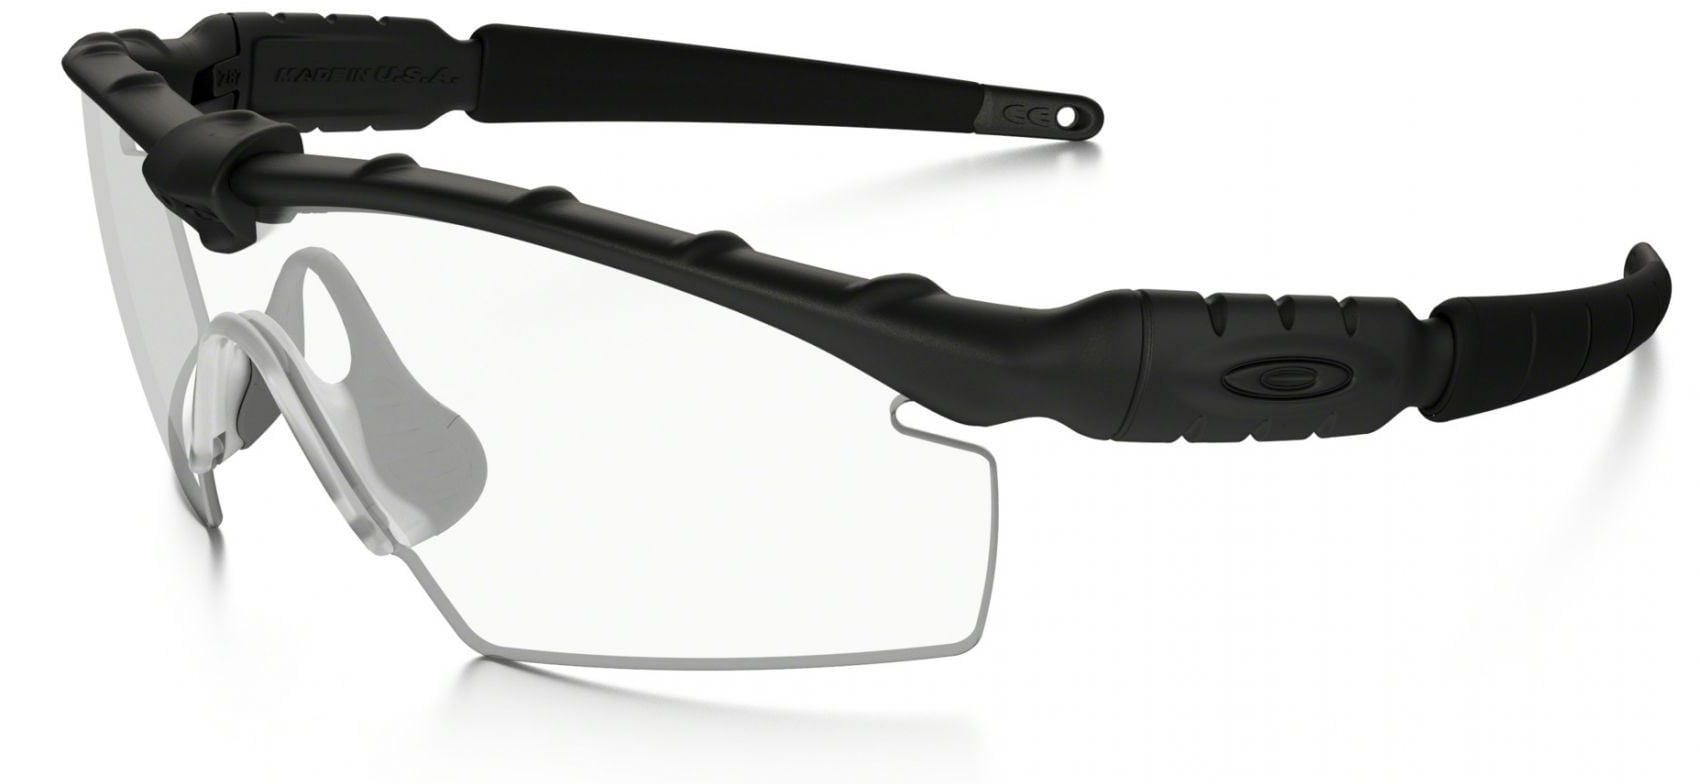
Eye protection. Don't have any? Use our Eye Protection Selector.
-
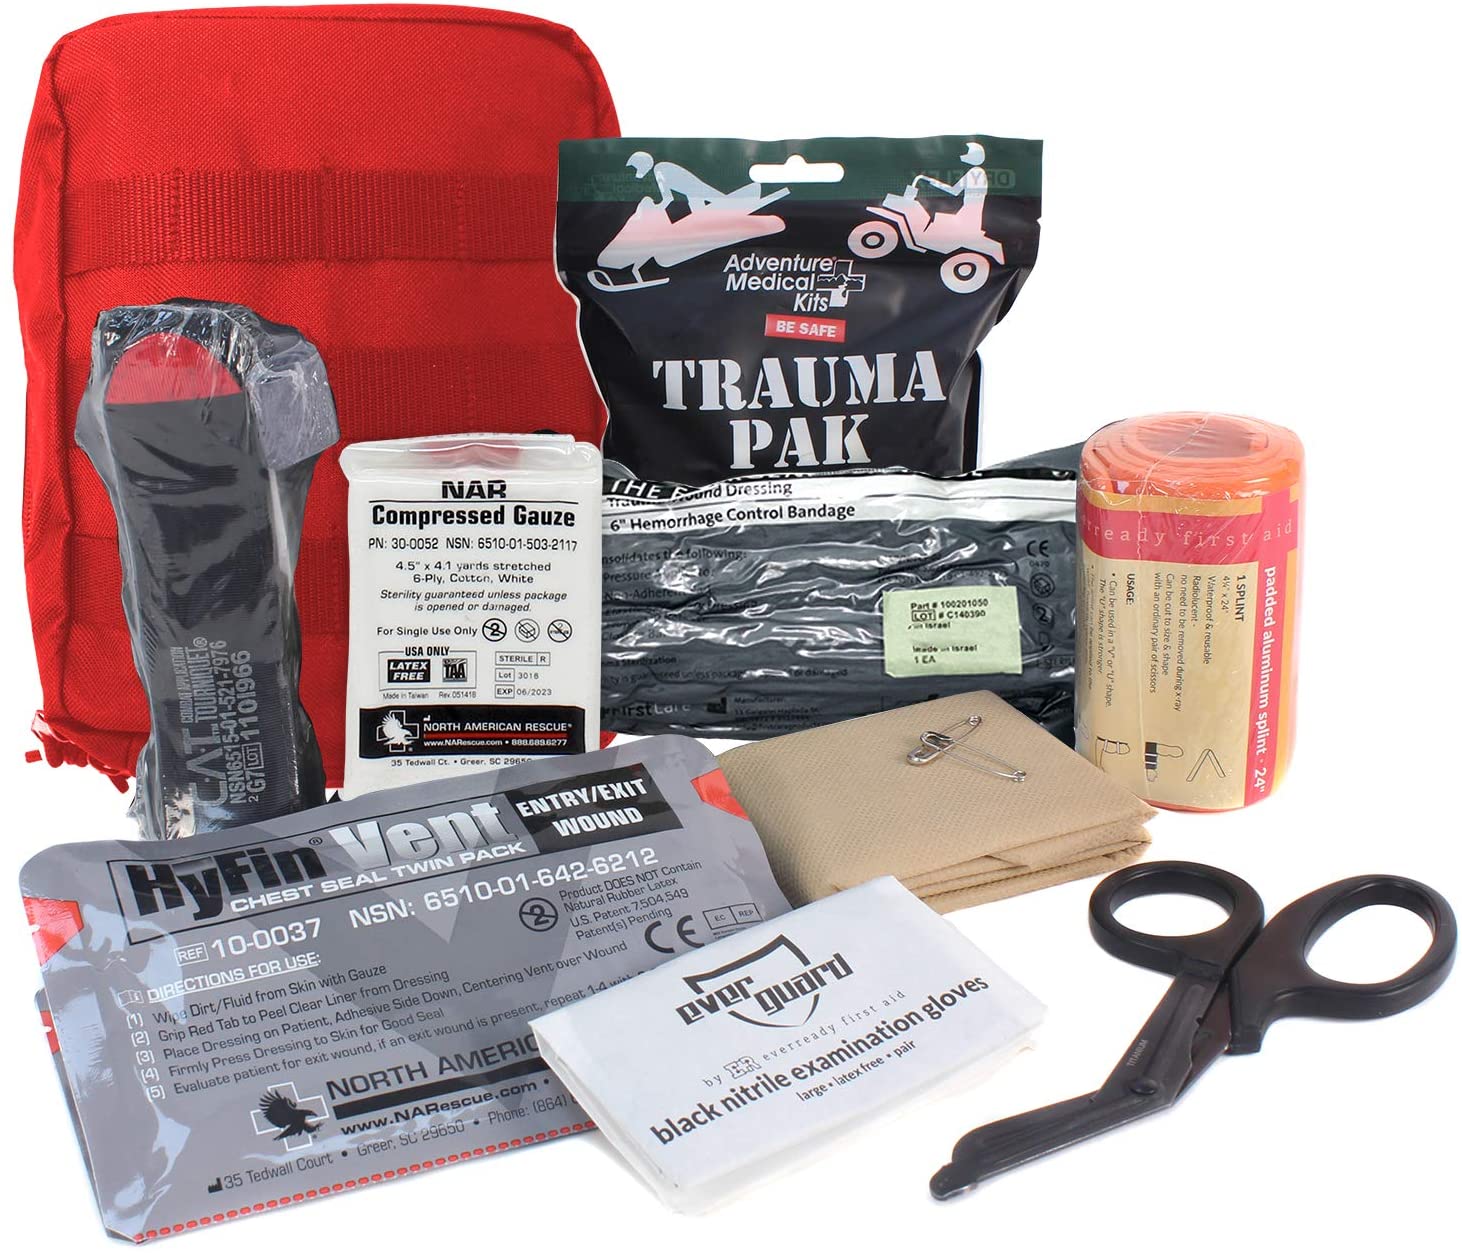
First aid kit (bandaids, alcohol rubbing wipes, etc.)
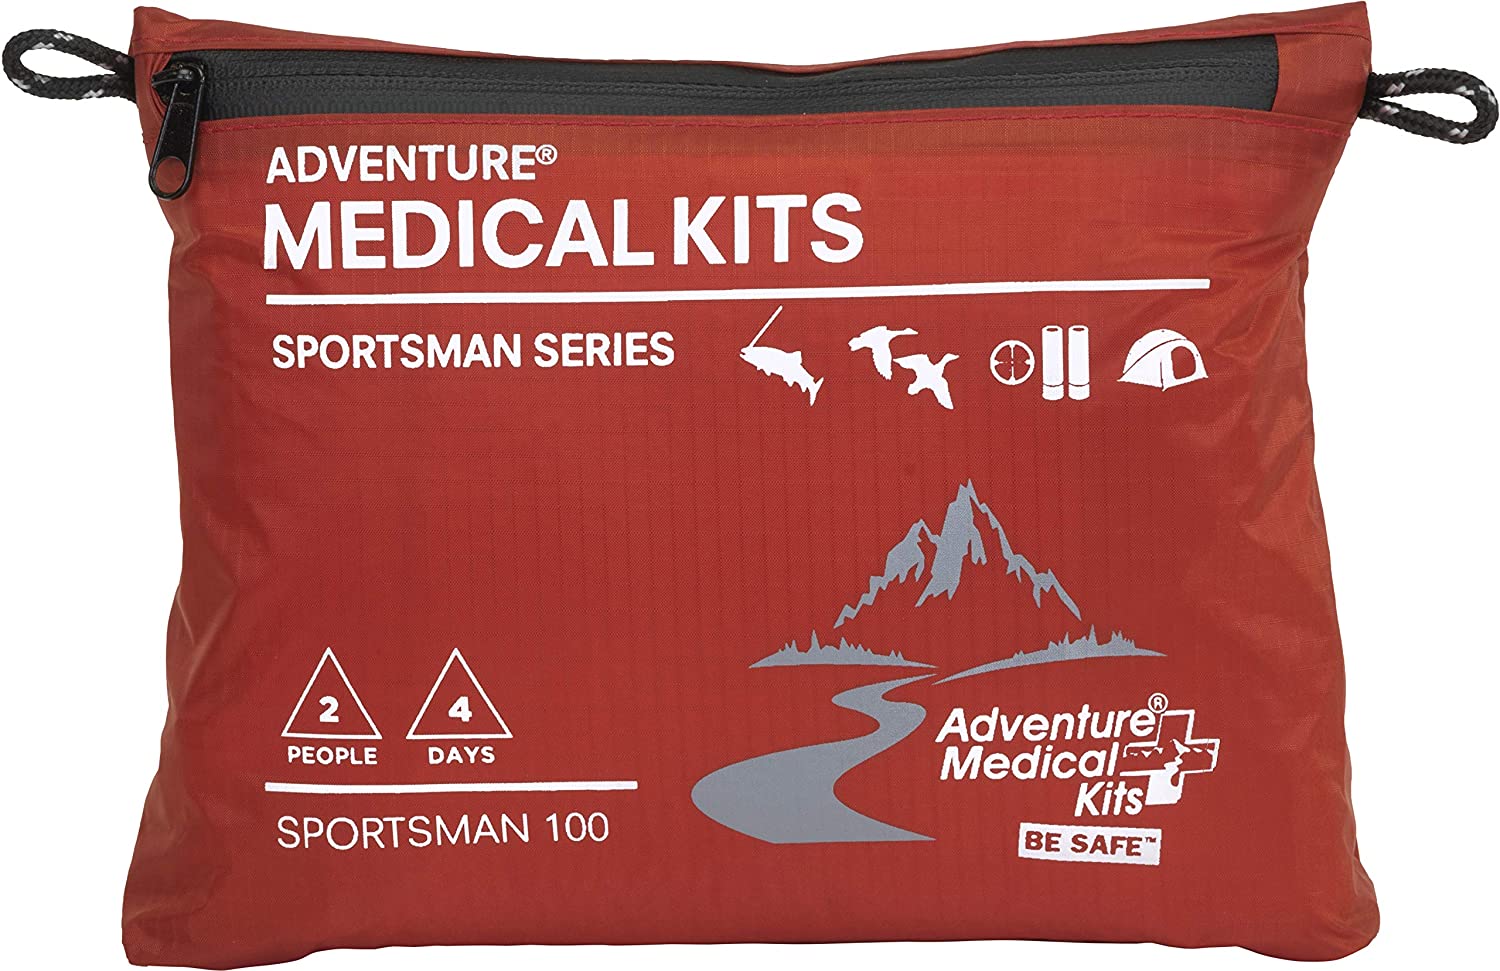
-
If you have medical training, an IFAK/trauma kit (tourniquets, chest seals, gauze/quickclot)
-
Target pasters, to make it easier to see where you hit, and save money on targets at the range:
-
Grip enhancer:
GRRRIP Plus or
Pro Grip (optional).
-
50-150 rounds of ammo. Don't have any? Check out our pistol ammo finder for the best prices in stock:
-
At least 5 snap caps (dummy rounds)
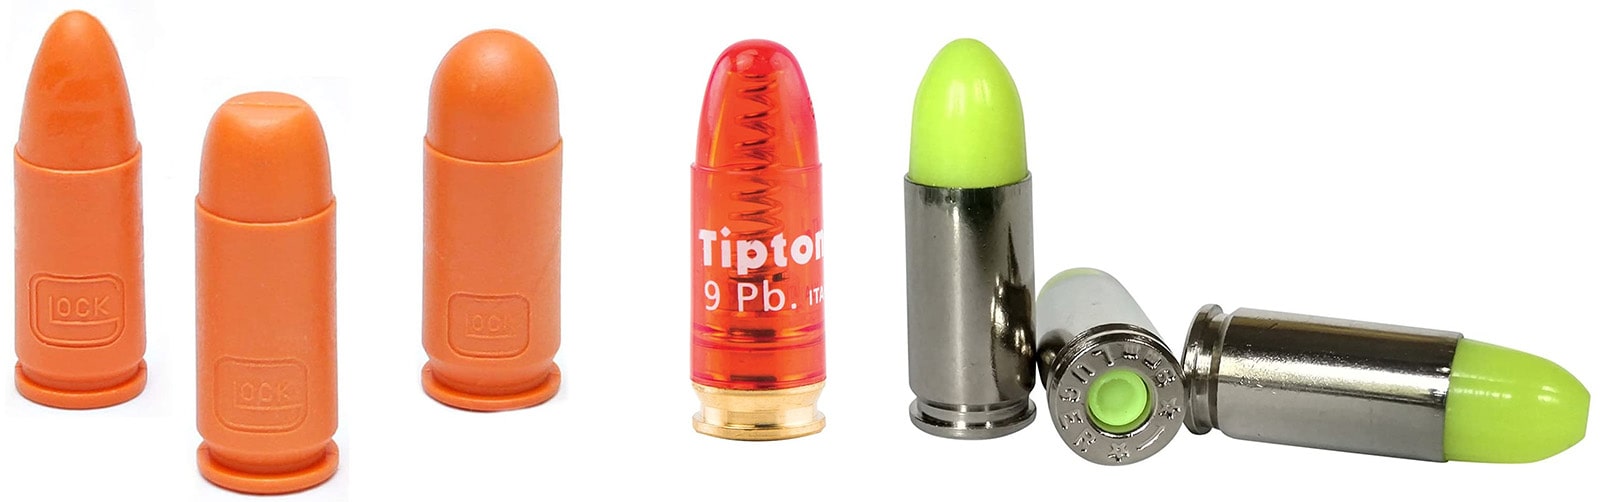
-
Loaded magazines. Less time on the range loading is more time for shooting.
-
A magazine loader, for easier loading.
-
Your pistol, in a case. The one it came with should do.
-
Lead-removing wipes

-
If you have trouble focusing on the front sight, bring reading glasses.
Around +1.25-1.75 should work, but experiment and find what works for you.
-
A notepad and pencil, or an appropriate app to track your progress.
-
Water
-
Sunscreen (for outdoor ranges) (body , face )
-
Stretch or compression undershirt to prevent hot brass casings from getting down your shirt:
Before You go
Spend at least 10-15 minutes on dry practice with our free app.
Recommended drills:
-
Dry trigger
-
Target transitions
-
Draw Step 2 to Step 3
-
Other draw drills if your range allows drawing from a holster
Why? It's easier to check your fundamentals before you add the stress of recoil and loud noise of live fire.
You'll get much better results if you prime yourself with good habits.
Also note, before you draw a loaded gun, you should have practiced the draw dry (unloaded) until:
-
You can at least meet the Beginner standards in the Free Dry Fire App, and
-
You consistently reholster with a safe trigger finger and safe muzzle direction.
Range Etiquette
Follow the 4 rules of gun safety,
and guidelines on range safety.
Otherwise, each range has its own rules. Some don't allow drawing from a holster, or set limits on how fast you can shoot.
If you're planning to practice those things, check with the range to see if it's allowed first!
Pistol Warm-up Drills
If allowed, always start live fire practice with these drills:
Grip Check

Recommended rounds: 6-30
Only do this drill if you have first used our guide on how to grip a pistol and done the exercises.
Aim at the berm instead of your target. At an indoor range, just take down your target and bring in your target holder so you don't hit it downrange.
The focus is on getting your grip right, not accuracy.
-
Fire 1 shot and read the sight picture as it recovers from recoil. Check how your grip held up:
-
Did your sights automatically return to where they were before you shot?
-
Did you feel your support hand contributing?
-
Did your hands come apart at all?
-
If there were any issues, change your grip and try again:
-
Sight returns left or right:
-
If sights return off to the right, turn or press your right hand in more, and vice versa
-
Sight returns high or low:
-
Pinch grip: Grip like you're trying to touch your fingertips to your palm
-
Brace/push with shooting hand wrist, pull in/up with support hand wrist
-
Firing Hand: Power of the pinky
-
Grip breaks apart:
-
Firing Hand: Shift grip left/right (just a few millimeters can make a difference)
-
Support Hand: Shift grip left/right (just a few millimeters can make a difference)
-
Support Hand: Keep contact and constant pressure against the trigger guard
-
Support Hand: Pinky solid on Firing Hand
-
Support Hand: Angle wrist forward (5-30º; experiment and find what works for you after ruling everything else out)
-
If you can get 1 shot with a good grip, do 2, then 3, then 4, etc. till you can do at least 6 shots in a row with no grip issues.
When you find the correct grip pressure, use that before you start shooting a set. Maintain it until you finish the set.
This is hard, and you may have to take breaks more often, but it will make huge gains in your shooting speed and accuracy.
It may take 20-30 rounds to get your grip dialed in, depending on how long it's been since you last shot with a good grip.
If you get stuck and frustrated after 30 rounds, note how your grip went wrong. How did the sights return? Were your hands breaking apart?
Work on it in a future practice session, and consider strengthening your grip.
For now, move onto exercises that don't test grip or recoil control.
Ultimate goal: At the start of a range session,
your grip should hold together on recoil. Your sights should automatically return to where they were before each shot in a string of 6 shots.
You should be able to do this at a rate of 5 shots per second (0.20 seconds between each shot).
Once you can do that, have your first drill at the range be a Bill Drill (7 yard target, draw and fire 6 shots in 2 seconds or less).
Untimed Groups
 Recommended rounds: 20-30
-
Set your starting target distance: 10, 15, 20, or 25 yards.
-
Set your target. I recommend a 3" circle.
-
Shoot the target 10 times. There's no time limit. Take breaks between shots if you need to.
-
Check your results and paste over your target's holes with your pasters.
-
Less than 7/10 hits: Bring the target 2 yards closer.
-
7-9 hits: Repeat the set of 10.
-
10/10 hits: Move the target 3 yards out.
-
Record how far you got by the final set, and track your progress.
This exercise builds basic marksmanship.
It trains you to keep your eyes open as you fire shots, so you can read the sights at the start of a shot and call your shots.
How?
As you fire each shot, try to read the sights as they start to lift in recoil.
What you see should correspond to where you hit the target.
If you haven't done this before, take a break each time you fire a shot.
Check if what you saw in the sights matched where your shot hit the target.
Once you can call one shot at a time, try taking a break every 2 shots, then 3, 4, etc. to check whether you've called your shots.
You can use a spare target and put small pasters or stickers on it where you think you hit, and then verify on the target.
More info on shot calling and the paster exercise:
Ultimate goal: Get to at least 25 yards and shoot 10/10 sets there.
If you're shooting cheap ammo, 6" groups at 25 yards is acceptable.
If you're not happy with your results, do more dry trigger practice with the Dry Fire App. Master the trigger press.
Also, a red dot sight can help here, but it isn't needed.
Pistol Shooting Drills
Timed Trigger
 Recommended rounds: 20-30
-
On the dry fire app, set the Drill to Dry Trigger, and set the Par Time to what you practice at home.
-
Set your target. I recommend a 6" circle or the A and B zones on a USPSA target.
-
Set your target distance to 5-15 yards.
-
For every 5 yds past 5, add 0.10 Par Time.
So a 10 yd. target adds 0.10, 15 yd. target adds 0.20, etc.
-
Do the exercise like normal, except with a loaded gun and range target:
Take aim on the target. At the beep, press the trigger before the second beep.
-
After the set is over, check your results and paste over your target's holes with your pasters.
-
Less than 7/10 hits: Add 0.10 to the Par Time.
-
7-9 hits: Repeat the set of 10.
-
10/10 hits: Decrease Par Time by 0.10 or add 3 yds to the target distance.
This drill is to help you verify your dry trigger technique holds up in live fire.
If it doesn't, you aren't reading the sights as well as you need to in dry practice.
If you're over 40, try reading glasses. Or try a laser
or red dot
to make it easier to see and diagnose how your gun moves as you press the trigger in dry practice.
Problems here could also come from not applying your grip technique in dry practice.
Grip the gun as though you were going to have to fire more shots.
Ultimate goal: Get 10/10 hits in these conditions:
|
Target Distance
|
Par Time
|
|
5-10 yds.
|
0.20 or less
|
|
15 yds.
|
0.40 or less
|
|
20 yds.
|
0.50 or less
|
|
25 yds.
|
0.60 or less
|
If you're using the dry fire app as your timer, each beep is 0.30 seconds long.
It takes most people around 0.15 seconds to react to the beep.
So, dial the Par Time to 0.05 to simulate a Par Time of 0.20 and press the trigger before both beeps finish playing.
Pairs
Recommended rounds: 40-60
This drill isn't for your first range trip.
To save you ammo and frustration, I recommend doing this after:
-
You've done all the other drills at least a few times before, and
-
Your dry draw is at least Beginner level in our free Dry Fire App.
This drill uses a total Par Time. It's better to use a shot timer that
can pick up times between live shots, known as splits.
A 0.20 split means it took 0.20 seconds from your first shot to the second one.
What if your range doesn't allow drawing from a holster?
Start each rep by picking up the pistol and bringing it to Step 2 (ready).
Have your support hand indexed firm against the bottom of the trigger guard, but don't grip with it yet.
Cut the Par Time by 0.50 when doing this.
Otherwise, the start position is gun hosltered, hands at sides.
-
Set your target and distance. I recommend a 6" circle or the A and C zones on a USPSA target.
-
Set your shot timer with an appropriate Par Time for your target distance and skill level.
If you've never done this, start with 3 seconds at 5 yards.
-
At the beep, draw (or present on-target, if starting from Step 2) and fire two shots before the second beep.
-
Safely reholster (or return to Step 2) and prepare for the next rep.
-
After 10 reps, check your results and paste over your target's holes with your pasters.
-
7+ fewer hits than par: Add 0.20 to the Par Time.
-
1-6 fewer hits than par: Repeat the set of 10.
-
Equal or more hits than par: Decrease Par Time by 0.10
This tests your sight alignment, trigger control, and grip at a practical pace.
A big part here is building your grip properly on the draw. If you fail that, your second shot will be slow or off-target.
When you get to Step 2 in the draw, the grip should be about 80%.
Dial in the rest as you present the pistol (Step 3).
If you started from Step 2, focus on using the right grip pressure for your support hand as you present the gun.
Ultimate goal:
|
Target Distance
|
Total Par Time
|
Split
|
Par Hits
|
|
5 yds.
|
1.1
|
0.20
|
19 of 20
|
|
10 yds.
|
1.3
|
0.22
|
18 of 20
|
|
15 yds.
|
1.5
|
0.25
|
16 of 20
|
|
20 yds.
|
1.8
|
0.30
|
14 of 20
|
|
25 yds.
|
2.0
|
0.40
|
14 of 20
|
If Your Accuracy Drops...
Practice doesn't make perfect. Perfect practice makes perfect.
What if your accuracy starts dropping and doesn't get better? Take a short break, then do these drills:
Dry Trigger Work
-
Unload your pistol
-
Do a set of 10 untimed dry trigger presses until you get a perfect 10/10.
-
Do a set of 10 with a Par Time where you can get 7/10 correct.
-
Practice there till you get a perfect 10/10.
-
Do the drill you were stuck on dry, at the Par Time you used before, until you get a perfect set of 10.
-
Load your gun and do the drill you were stuck on, at a Par Time 0.20 higher than before.
Do a set of 10.
-
If you got 10/10, dial the Par Time down by 0.10. Otherwise, stay at that Par Time until you get 10/10 live.
-
Repeat this process as needed.
If you need to put on reading glasses to focus on the front sight when dry firing, do it.
Ball and Dummy Drill
-
Load 1-2 magazines with live and dummy rounds at random.
If you can, have someone else load the mags for you, so you don't know which rounds are dummies.
-
Resume the drill you started having issues with.
-
When you get to a dummy round in the magazine, you'll get a click instead of a bang. Read the sights as this happens.
-
If your sights moved with the dummy round, unload and do more dry practice for 3-5 minutes with this drill.
-
Reload with the ball and dummy mag. Repeat the drill until your sights stay accurate when you get a dummy round.
It's critical to read any movement in the sights while doing this.
More Drills
These drills cover the basics.
What if they get boring, or you want to work on target transitions or some other skill?
Use the Free Dry Fire App and dial up the Par Time to account for recoil.
Want even more drills? Check out Skills & Drills Reloaded (2018), by Ben Stoeger, multi-time USPSA national champion and IPSC world champion.

Disclaimer: As an Amazon Associate I earn from qualifying purchases, at no extra cost to you.
Wrapping up
Wipe your hands with lead-removing wipes before:
-
Water breaks
-
Bathroom breaks
-
After you finish with range practice.
Why? Shooting your gun spreads tiny amounts of lead, which gets on your hands.
If you then eat or go to the bathroom, you can get lead in your body. If that happens enough, it causes all kinds of health issues.
Prevent lead poisoning. Use lead-removing wipes.
Next Steps
Live fire practice is costly, but training will ensure you get the most out of it.
Uncomfortable with the idea of going to the range? Our Basic Training course will help change that.
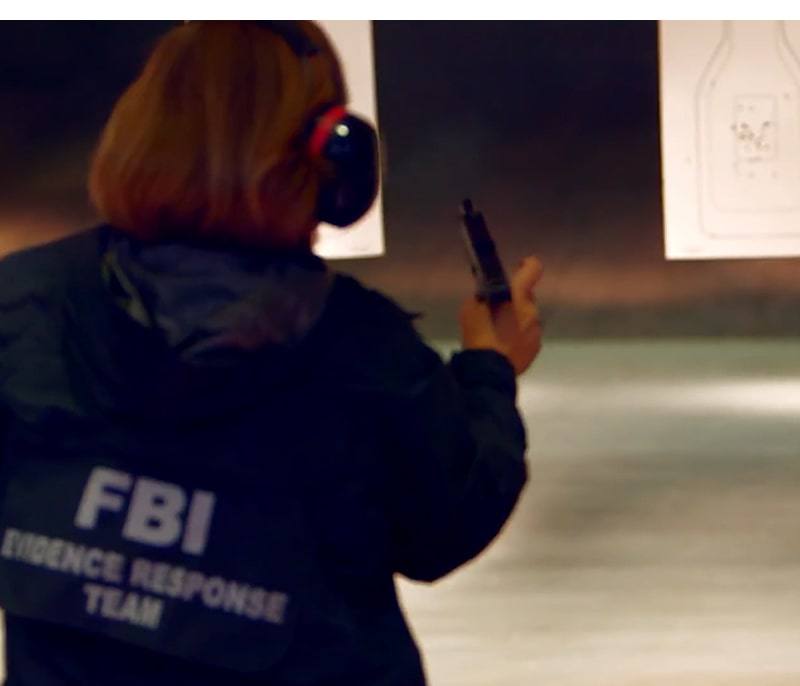
If you want to shoot like an FBI agent or beyond, and you're within 30 minutes of Georgetown, TX, sign up:
Basic Pistol
Learn safe gun handling and basic pistol skills, so you can have a safe, fun time shooting.
Gain confidence with a pistol in four 1-hour classes.
FBI Transformation
The Texas LTC doesn't teach you how to win a gunfight.
Exceed FBI standards and carry every day with confidence in 24 1-hour classes.
References
-
Practical Shooting Fundamentals Omaha (2022)
-
Skills And Drills PMRPC 2022 (2022)
-
Ben Stoeger Practical Shooting Skills and Drills (2021)
-
Ben Stoeger Teaching Speed Shooting Fundamentals (2020)
-
Skills & Drills Reloaded (2018)
Related Articles
Feedback
Are you happy with this page?